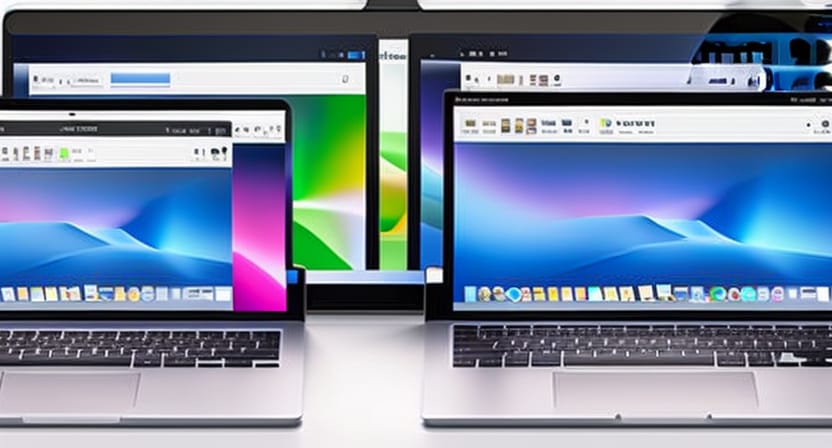
Mac users who need to run Windows applications have a few options to choose from. One of the most popular solutions is to install Windows on a Mac using a virtualization software such as VMware Fusion or Parallels. This allows users to run Windows and Mac applications side by side, without the need to reboot the computer. In this article, we will guide you through the process of installing Windows 11 on a Mac using VMware Fusion.
System Requirements
Before you begin the installation process, make sure your Mac meets the following minimum requirements:
- A Mac with an Intel processor
- At least 8 GB of RAM
- At least 100 GB of free hard drive space
- Mac OS X 10.13 or later
- VMware Fusion 11 or later
Step 1: Download Windows 11 ISO Image
The first step in installing Windows 11 on a Mac is to download the Windows 11 ISO image. You can download the ISO image from the Microsoft website. Once the download is complete, you will have a file named “Windows_11.iso” on your Mac.
Step 2: Install VMware Fusion
If you do not already have VMware Fusion installed on your Mac, download and install it from the VMware website. You can also purchase a license for VMware Fusion from the website.
Step 3: Create a New Virtual Machine
Once VMware Fusion is installed, open the application and click on the “New” button to create a new virtual machine. In the wizard, select “Windows” as the operating system and “Windows 11” as the version. You will then be prompted to select the ISO image you downloaded in step 1.
Step 4: Configure the Virtual Machine
Before you can begin installing Windows 11, you will need to configure the virtual machine. In the “Settings” tab, you can configure the amount of RAM, CPU, and hard drive space allocated to the virtual machine. We recommend allocating at least 4 GB of RAM and 2 CPU cores to the virtual machine.
Step 5: Install Windows 11
Once the virtual machine is configured, click on the “Start” button to begin the installation process. The virtual machine will boot from the ISO image and the Windows 11 installation wizard will appear. Follow the prompts to complete the installation process.
Step 6: Install VMware Tools
After Windows 11 is installed, it is important to install VMware Tools. This will improve the performance and functionality of the virtual machine. To install VMware Tools, go to the “Virtual Machine” menu and select “Install VMware Tools.”
Step 7: Configure Windows 11
Once VMware Tools are installed, you can configure Windows 11 to your liking. This includes setting up a user account, customizing the desktop, and installing any necessary applications.
Installing Windows 11 on a Mac using VMware Fusion is a relatively straightforward process. With the right system requirements and the proper tools, you can have Windows 11 running on your Mac in no time.


