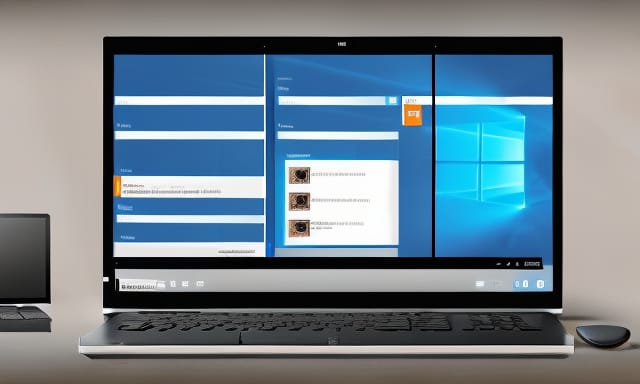
The split screen view is an extremely useful feature in Windows 10 that allows you to display two or more windows on the same monitor, allowing you to multitask effectively and efficiently. In this blog, we’ll explore what split screen view is, how to enable it in Windows 10, how to use it once enabled and finally how to disable it again.
What is split screen view in Windows 10?
There are a lot of ways to be productive on a computer, and one of those is to use split screen view. This allows you to have two or more windows open side by side so you can compare or work on them at the same time.
To use split screen view in Windows, first, open the window that you want to appear on the left side of the screen. Then, hold down the Windows key and press the left arrow key to snap that window into place. Next, open the window that you want to appear on the right side of the screen and do the same thing – hold down the Windows key and press the right arrow key. Both windows should now be snapped into place and take up half of the screen each.
If you want to adjust how much of the screen each window takes up, you can click and drag the border between them. And if you want to get rid of the split screen view, just snap a window into place on its own by holding down the Windows key and pressing either the left or right arrow key again.
Split screen view can be a great way to boost your productivity, whether you’re comparing two documents side-by-side or keeping an eye on a chat window while you work on something else. Give it a try next time you need to get some work done!
How to enable a split screen view in Windows 10?
Windows 10 offers a neat feature called split-screen view that allows users to place two apps side-by-side on the same screen. This can come in handy when you need to reference information from one app while working on another. For example, you could have a web browser open on one side of the screen and a word processor open on the other side.
To enable split screen view in Windows 10, simply open the first app you want to use, then click and hold the title bar of the second app and drag it to the side of the screen. The first app will automatically resize to take up half the screen, and the second app will take up the other half. You can then adjust each app’s size by clicking and dragging the divider between them.
Once you have your apps arranged how you want them, simply start working on each of them as usual. When you’re done, you can close each app by clicking its close button (the X in the top-right corner), or you can exit the split screen view by dragging the divider to one side or the other.
How to use split screen view in Windows 10?
How to use split screen view in Windows?
Windows has a great feature called split-screen view that allows you to have two programs open side-by-side. This can be helpful if you’re working on a project that requires reference materials from two different sources. Here’s how to use split screen view in Windows:
First, open the two programs you want to have open in the split screen view.
Then, click on the title bar of one of the programs and drag it to the side of your screen until it reaches the halfway mark.
Finally, click on the title bar of the other program and drag it to the other side of your screen.
Both programs should now be open in split screen view! To exit the split screen view, simply click on the title bar of one of the programs and drag it away from the side of your screen.
How to use split screen view in Windows?
The split screen view is a great way to work on two projects at the same time or keep reference materials easily accessible while you work. Here’s how to use split screen view in Windows:
First, open the two programs you want to have open in the split screen view.
Then, click on the title bar of one of the programs and drag it to the side of your screen until it reaches the halfway mark.
Finally, click on the title bar of the other program and drag it to the other side of your screen.
How to disable split screen view in Windows 10?
Assuming you want 3 different ways to disable split screen view in Windows:
To disable split screen view in Windows, simply open the settings menu and deselect the option for split screen view.
Another way to disable split screen view in Windows is to press the Windows key + D to go to the desktop, then press Alt + F4 to open the settings menu and deselect the option for split screen view.
Finally, you can also disable split screen view in Windows by opening the task manager and ending the process for split screen view.
Split screen view in Windows 10 is a handy feature that allows the user to multitask easily by displaying two windows side by side. It can be enabled by selecting the ‘Snap’ feature from the settings. Users can then drag and drop windows to fit their desired layout, making it easier for them to switch between multiple active windows. To disable this feature, users need to simply drag the window edges until it exits the split screen view layout. Overall, split screen view is a great productivity tool that makes multitasking much simpler and more efficient on Windows


