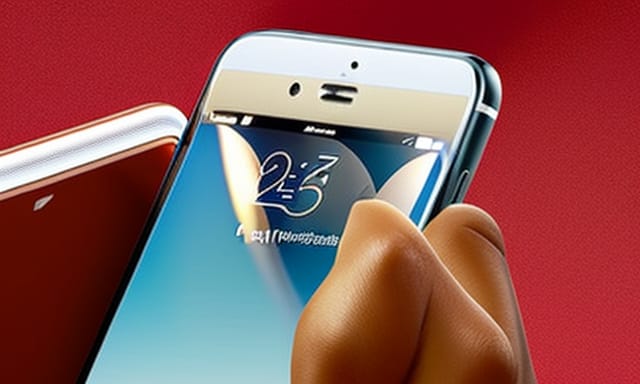
Do Not Disturb mode is one of the most useful features on iPhones. It allows users to enjoy some peace and quiet by blocking notifications and calls while still allowing them to receive important messages from important contacts. With this feature, you can easily customize your settings to your preference and quickly enable and disable Do Not Disturb mode from the Control Center. Read on to learn more about how to use the Do Not Disturb mode on your iPhone.
Do Not Disturb mode on an iPhone is a great way to make sure you are not disturbed by notifications and calls when you need some peace and quiet. Follow these steps to learn how to use it:
1. Open the Settings app on your iPhone. 2. Scroll down and tap on the “Do Not Disturb” option.
3. Tap the “Manual” option to enable Do Not Disturb mode.
4. Set the start and end times when you want Do Not Disturb mode to be enabled.
5. You can also turn on “Scheduled” mode to enable Do Not Disturb mode automatically at a set time.
6. Customize the Do Not Disturb settings to your preference. You can choose to allow calls from specific contacts and groups or allow calls to go through even when Do Not Disturb mode is enabled.
7. If you want to quickly enable Do Not Disturb mode without having to open the Settings app, you can also add a Do Not Disturb widget to the Control Center.
8. To do this, open the Control Center and tap on the “+” icon.
9. Select “Do Not Disturb”.
10. You can now quickly enable or disable Do Not Disturb mode from the Control Center. And that’s all there is to it. With these steps, you should now know how to use the Do Not Disturb mode on your iPhone.
Do Not Disturb mode is an incredibly useful feature for those times when you need some peace and quiet. It allows you to customize your settings and quickly enable or disable it from the Control Center. With these steps, you should now have no trouble using the Do Not Disturb mode on your iPhone. Enjoy the peace and quiet!


