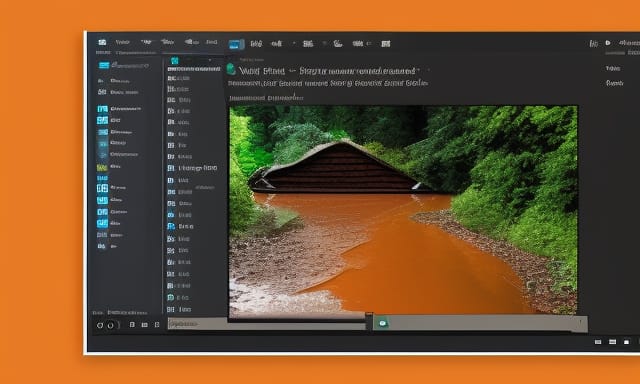
Windows Photo Viewer is a classic and user-friendly photo viewing application introduced by Microsoft, with features to enhance the experience of viewing images. It is the default image viewer for Windows, allowing users to easily scroll through photos and make basic edits. In this blog post, we will discuss what Windows Photo Viewer is, how to install it on your system, how to restore and use it on Windows 10 PCs as well as setting it as your default photo viewer app and how to use its features. Read on for more information.
What is Windows Photo Viewer?
Windows Photo Viewer is a classic image viewing application included in the Windows operating system that allows users to easily scroll through and view photos. It was first introduced with Windows XP but remains available on newer versions of Windows including Windows.
The app offers basic editing functions such as cropping, rotating, flipping, and adjusting brightness levels, and it also supports the popular JPEG file format for easy sharing of images online or via email. Additionally, it can be used to set an image as your desktop background or print photos from within the app itself. With its simple interface and intuitive controls, Windows Photo Viewer provides a vast experience for those who want to quickly browse their images without having to install any additional software.
How to install Windows Photo Viewer
Installing Windows Photo Viewer is simple. First, download the app from Microsoft’s official website. Once the installation file has been downloaded, locate it on your computer and double-click to begin the setup process. You will be asked if you want to install recommended updates for Windows during this process; select ‘Yes’ to do so. When prompted, click ‘Install Now to complete the installation of Windows Photo Viewer on your system. Afterwards, you can launch the application by searching for it in the Start Menu or through its shortcut located in the All Programs list within the Start Menu.
Alternatively, users who are running older versions of Windows such as Vista or XP can install a third-party version of Photo Viewer which is available online free of charge from various websites including Softonic and File Hippo. These apps have similar features but may not offer all functionalities that come with official versions of Photo Viewer released by Microsoft Corporation itself. Therefore it is highly recommended that users look out for any latest updates released by Microsoft before installing other alternatives available online as these might contain malicious content which could compromise your system security if used without caution
How to Restore and Use Windows Photo Viewer in Windows 10
For Windows 10 users who want to enjoy the classic Windows Photo Viewer app, restoring it is straightforward. First, open Settings from the Start Menu and go to Apps > Default apps. Scroll down until you find “Choose default apps by file type” and then select Photos from the list that appears. In this window, choose Windows Photo Viewer under ‘Photos viewer options’ and click Save changes. This will restore your old photo viewing experience with a few clicks!
Once restored, users can start using their favourite image-viewing application right away as its familiar layout remains intact on Windows 10 PCs. To launch it simply double-click on any image file or right-click an image icon on the desktop or in File Explorer and select Open With > Photos (Windows Photo Viewer). You can also access the program through the All Programs list within the Start menu after searching for it by typing ‘Photo’ into the Cortana search box on the taskbar or clicking its shortcut in the Recent items folder of the Start menu if available there after installation process was completed successfully earlier.
How to set Windows Photo Viewer as your default photo viewer
Setting Windows Photo Viewer as your default photo viewer is a simple process that can be completed in just a few steps. For Windows 10 users, this can be done via the Settings app: First, open Settings from the Start Menu and go to Apps > Default apps. Scroll down until you find “Choose default apps by file type” and then select Photos from the list that appears. In this window, choose Windows Photo Viewer under ‘Photos viewer options’ and click Save changes. This will make sure all image files are opened with Windows Photo Viewer when double-clicked or selected through File Explorer or desktop icons.
Alternatively, those running older versions of Windows such as Vista and XP may need to manually set their preferred photo viewing application as the system’s default program for image files within Control Panel > Programs > Set Program Access & Computer Defaults option (for some versions). To do so, simply find the Programs tab on top of the window after opening the control panel; select the Custom option; scroll down until you reach Choose A default Image Editor section; check the box next to Microsoft Window Photo viewer – if it isn’t already checked – and then click OK to save changes made in these settings menu before exiting out of Control Panel altogether afterwards. Once correctly done all image files should now open with the classic Windows photo viewing application whenever they are double-clicked or opened using other related commands in the operating system itself
How to use Windows Photo Viewer
Windows Photo Viewer is a classic picture viewing app available on Windows OS that enables users to view and edit their digital images quickly and easily. It offers basic features such as zooming, cropping, rotating, tagging and printing with ease. To use the program, simply open it from the Start Menu or desktop shortcut (if available) and then select any image file stored in the hard drive’s local storage library that you would like to preview. Once selected, the photo will be displayed on the screen in its original resolution allowing the user to zoom into specific details using the mouse wheel or +/- buttons located at bottom of the window itself while utilizing other editing tools discussed above depending on what they need to be done with the particular photograph before exiting out of application afterwards when finished editing/viewing process is complete completely.
Those who want more advanced options such as batch processing capabilities may find third-party alternative versions released by developers online works better than default Windows Photo Viewer especially if they are running older versions of operating systems like XP & Vista where the official version released by Microsoft Corporation might not offer all latest functionalities included within newer iterations of the software itself—so looking out for these updates before deciding which one should ultimately be installed onto PC device is highly recommended. However, even though third-party apps can provide additional features compared to traditional viewer program also comes bundled with various risks associated so users should always take caution to verify the authenticity source whenever downloading something off the internet first before installing them safely onto the system bypassing potential viruses lurking behind malicious files which could compromise security computer altogether otherwise!
In conclusion, Windows Photo Viewer is an application that allows users to view images and perform basic photo editing functions. If you’re looking for an uncomplicated way to view your photos and make quick edits, then downloading the app is worth it. It is straightforward to install and restore Windows Photo Viewer in Windows 10, as well as set it as your default photo viewer. With just a few simple clicks of the mouse, you can be up and running with this great app in no time at all!


